

Can You Reglaze Pottery
Sometimes, a one-time Glaze and Fire does not produce the desired result; the color is either too bland, the texture is not found, or there are simply too many errors. Reglazing is another way to add color and texture to pottery.
In that case, can you glaze and fire pottery twice? Pottery can be reglazed and refired multiple times. Most pottery glazes need to be applied in 1-3 layers. Pottery that has already been fired with a glaze can be re-glazed and fired 2 times. After the 3rd or 4th time, pottery starts to become brittle and weak, but that’s because of the firing and not the glaze itself.
There are several ways to reglaze your pottery, depending on what you want to achieve. Let’s go over these methods, along with a few helpful tips.
Affiliate Disclaimer: We are ambassadors or affiliates for many of the brands we reference on the website. As an Amazon Associate, I earn from qualifying purchases.
Preparing Glaze-Fired Pottery For Reglaze
There are a few ways to prepare your glaze-fired pottery for reglazing and refiring. Here are some methods you can try.
Sanding: You can lightly sand or wet-sand your glaze-fired pottery to help the new glaze stick to the surface. You don’t need to remove all the old glaze, just roughen the surface a little. Always wear a Dust Mask when sanding. Wipe away any sanding residue before applying your new glaze.

Heat: Gently warm your pottery with a heat gun or in a warm oven below 150°F (65°C). Applying glaze while the pottery is warm helps the water in the glaze evaporate faster, allowing it to stick to the glazed surface more easily. Be careful not to overheat your pottery.
Glue: Brush a very thin layer of white glue, such as Elmer’s glue, onto your pottery. Allow it to dry completely before applying your glaze. Avoid using too much glue because a thick layer can prevent the glaze from sticking properly.
Starch: Lightly spray your pottery with spray starch and allow it to dry before applying the glaze. The starch creates a temporary coating that helps the new glaze stick to the already-fired surface.
Hair Spray: Apply a light, even coat of hairspray to your pottery and let it dry completely before reglazing. A thin layer is all you need. Use hairspray in a well-ventilated area, away from heat or open flames.

Note: Don’t apply too much hairspray, Glue, or Starch. It may do the opposite and prevent the glaze from sticking to your pottery.
Glaze Binder: Another option is to use a glaze binder, such as CMC gum or a commercial glaze adhesive. These products help the glaze stick to nonporous surfaces. Follow the manufacturer’s instructions when adding a binder to your glaze.
No Preparation: You can also try applying new glaze directly over your already-fired glaze without sanding or using any other method. Keep in mind that the new glaze may not stick as well to the smooth surface. If the glaze doesn’t adhere properly, try one of the other methods below.
Helpful Tip: Always start with clean, dry pottery. Dirt, dust, and oils from your hands can make it harder for the new glaze to stick. Allow each coat to dry before adding another.
Reglazing your Pottery
There are different ways you can reglaze your pottery. Here are a few good ways to choose from:
Brushing – Depending on how much more glaze you need on your glazed piece, you can brush on 1 to 3 coats of glaze. Allow each coat to dry before applying another. Keep in mind that glaze will take much longer to dry on glaze-fired pottery.


Dipping – Glazes are thinner during the dipping process, so you may need to dip several times to get good color and coverage.
You can also remove some of the water before mixing to make the glaze thicker. This is because glaze-fired pottery is no longer porous and will not absorb water from the glaze as bisqueware does. When you’re done, add the water back to your dipping glaze.
Spraying – Glazes used for spraying are thin and applied as a fine mist, so you may need at least 3 layers for good coverage.
You can layer glazes to create a pattern on top or simply get better coverage. Whichever method you choose, make sure each layer dries before applying the next one.
Reglazing to Touch Up Pottery
Did your pottery come out of the kiln with the glaze not covered the way you thought it should? Don’t worry, you can glaze again to touch up. But before you do that, look at the problem you have.


If little pores have formed, it means you have applied your glaze too thickly, or you’ve fired the pottery for a short amount of time. If you’ve spotted crawling, it means that your glaze was either too thin or wasn’t adhesive enough. In both cases, prepare the piece properly and apply a glaze layer of just the right thickness. If the problem was adhesiveness, add a little gum to your glaze slurry.
Other reasons to touch up pottery include seeing bubbles, collecting glaze in one area, or irregularly shaped formations. In all of these cases, prepare the affected area and apply another glaze layer (but not too much).
Here’s a pro tip:
If you’re touching up, you want the corrections to be invisible. So fire at the same temperature as you did before. If you fired at Cone 5, don’t lower the heat. The old glaze would also melt and merge with the new layer.
Reglazing Pottery to Add Accents
Another reason you might want to glaze and fire your pottery twice is to add accents. Maybe an older piece looks dull and boring, and you want to give it a new look.
To add accents, simply apply another glaze in a different color to your already-fired piece. You can use several shades of the same color or a completely different color altogether.
If you want to protect a specific part from getting a new coat of glaze, you can use Wax Resist. Make sure the wax resist is suitable for your fired glaze surface. Let it dry first, and then apply your second glaze. After the glaze dries, gently wipe any glaze off the wax-resist areas before firing.
The new glaze can be applied in a single coat or multiple coats, depending on the glaze you’re using and the effect you want. One coat may give you a subtle accent, while additional coats can create more color and coverage. Be careful not to apply too much glaze because it can run during firing.
When reglazing to add a new color or accent, check the recommended firing temperature of your new glaze. Some glazes can be fired at a lower temperature, while others need the same temperature as the original firing to melt properly. Keep in mind that refiring can also change the color or appearance of the glaze underneath.
If you want to add a metallic effect, painted details, or a luster finish, you can use ceramic overglazes made for decorating already-fired pottery. These are fired at much lower temperatures. For example, some gold lusters fire to cone 018, while mother-of-pearl lusters may fire to cone 020. Always follow the manufacturer’s firing instructions.
Helpful Tip: If you’re trying a new glaze combination, test it on a practice piece first. The new glaze may interact with the original glaze and create a different color or effect than you expected.
Reglazing Pottery With Transparent Coat
If your glaze-fired pottery has lost its shininess over time, you can bring it back to life with a coat of clear glaze.
Clear glazes generally need only one coat since they’re thick enough and don’t have any pigment that you need to build up. You can apply a coat by dipping, spraying, or brushing. All three are very convenient. However, make sure to apply a thick coat and brush in single sweeps; you’ll end up with a bristle-like texture.
Refiring Bisqueware to Remove Wax Resist
If you accidentally get wax resist on an area of your bisqueware that you want to glaze, you can fix that, too.
Wax resist prevents glaze from sticking to the pottery, and it can be impossible to remove once it has dried. One way to remove it is to put your bisqueware back in the kiln for another bisque firing. The wax resist will burn away during firing.
Helpful Tip: Be careful when applying wax resist because even a small amount can prevent glaze from sticking. Refiring your bisqueware gives you another chance to glaze those areas.
Removing Glaze and Reglazing on Bisqueware
If you’ve applied a glaze you don’t like to your bisqueware, you can remove it and reglaze before firing. This can be done by carefully sanding or washing it off.
Sanding – To sand-glaze off a pottery piece, rub with sandpaper. Make sure to wear a Dust Mask to avoid glaze dust from getting inside your lungs. Sanding a slightly wet piece creates less dust than sanding a dry piece. You can also keep a damp cloth or sponge by your side and use it to wipe away any remaining glaze particles.
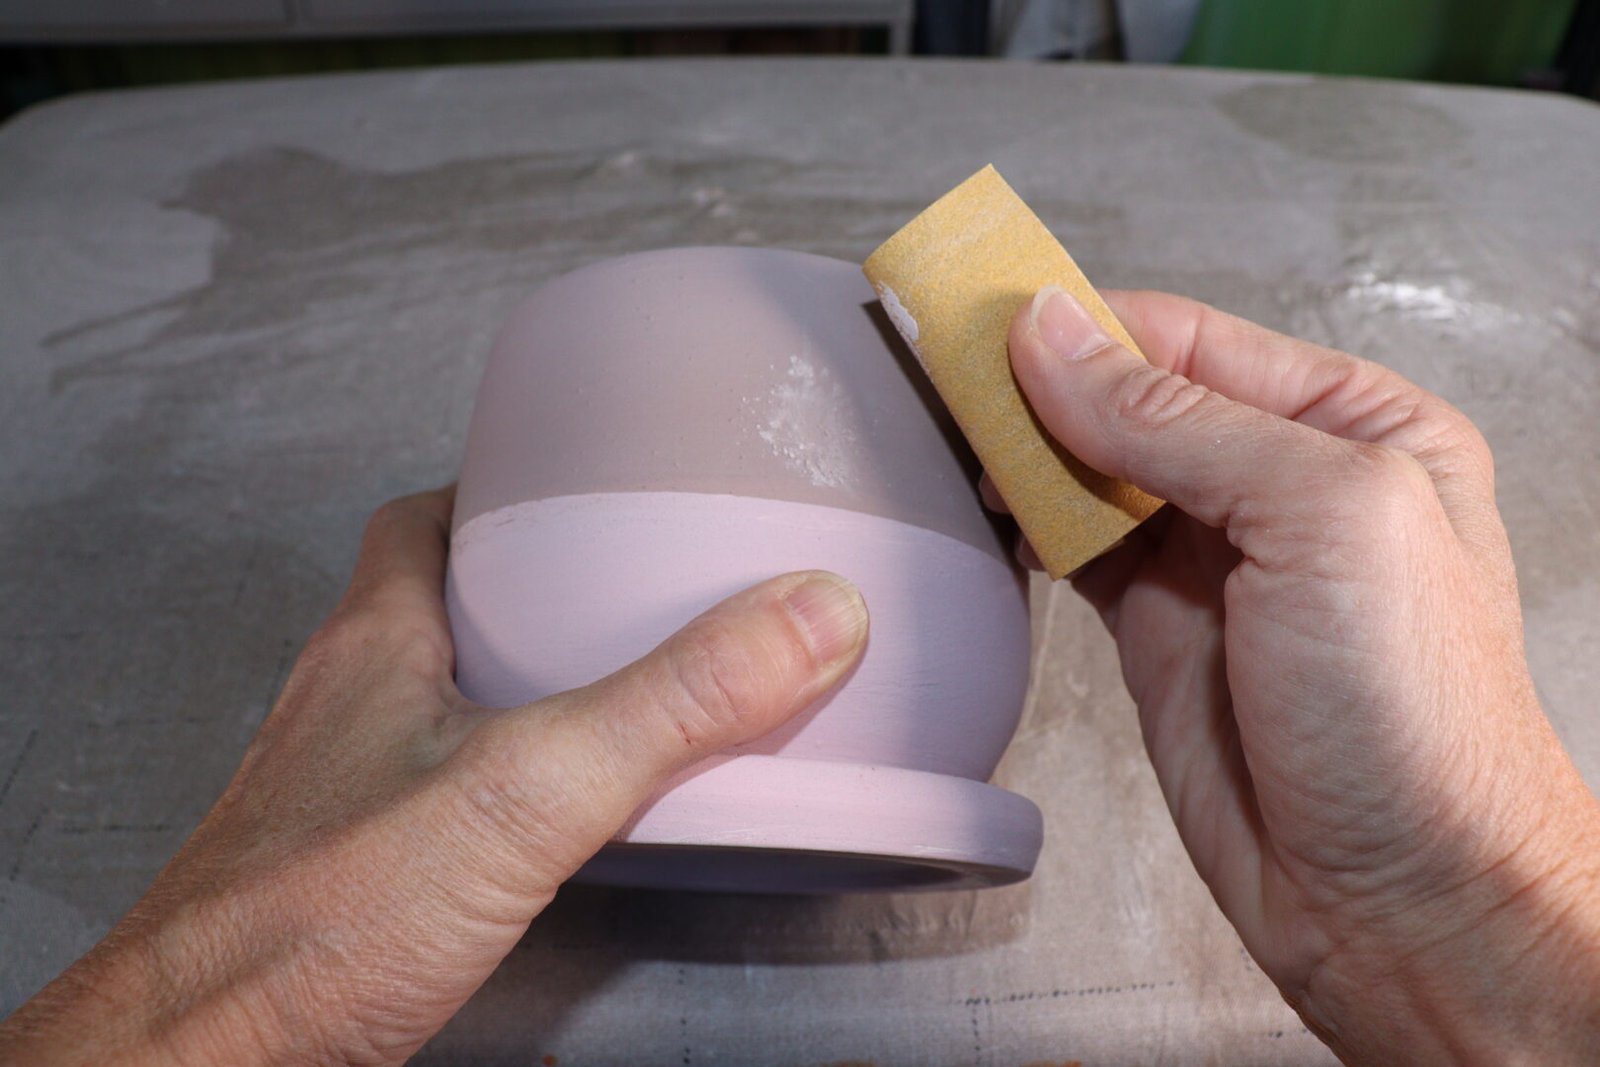
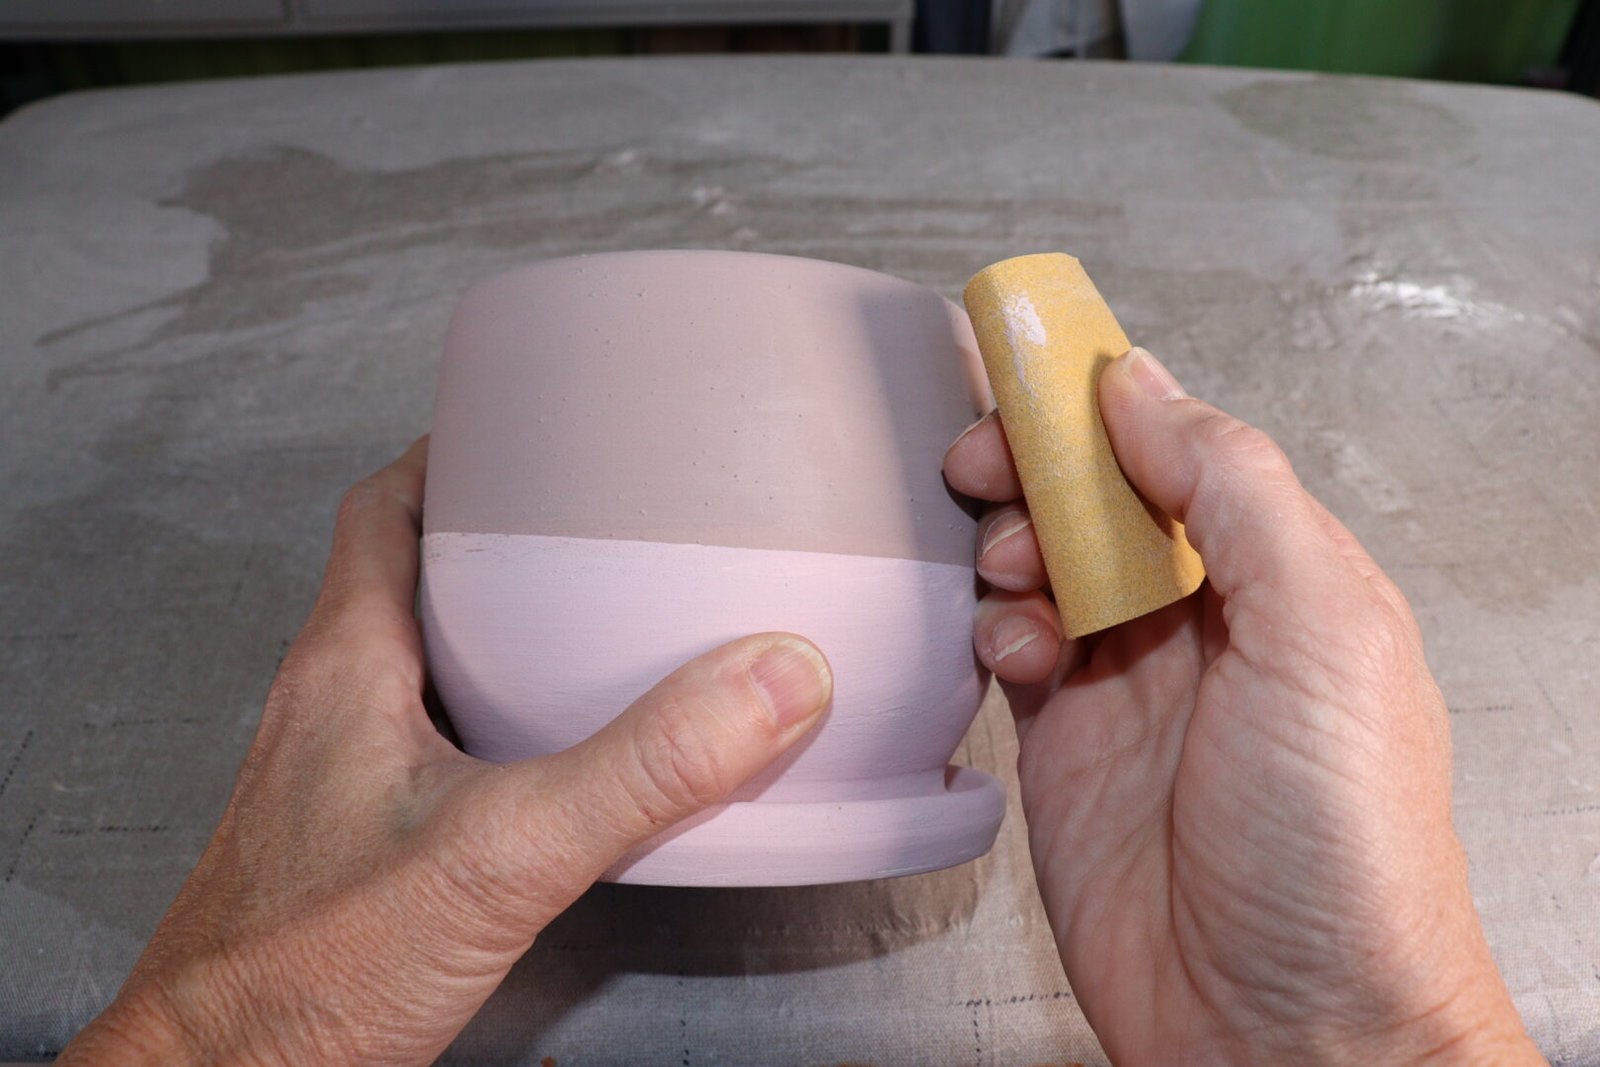
Washing – Wiping your unfired glaze off with a damp sponge will also do the trick. Make sure your sponge is not too wet, and rinse it out often. Be gentle so you don’t damage the surface of your pottery.
I have removed glaze from bisqueware by both sanding and washing. My pottery has turned out beautifully both ways.
Applying New Glaze – After removing the unwanted glaze, make sure your bisqueware is clean and completely dry before applying a new glaze.
You can then brush, dip, or spray on your new glaze, depending on the look you want to achieve. Allow each coat to dry before applying another.
Conclusion
To summarize, you can glaze-fire pottery twice or even multiple times. Reglazing allows you to add textures, accents, and different effects or improve the look of a piece that didn’t turn out as expected.
I have found that lightly wet-sanding and hairspray on glaze-firing pottery before reglazing both worked well for me. There are a few methods you can try, so find the one that works best for you.
Keep in mind that each additional firing comes with some risks. Pottery can crack or warp, and the glaze may change or run. This doesn’t mean your pottery will become brittle after a certain number of firings, but it is something to consider before putting a piece back in the kiln.
